
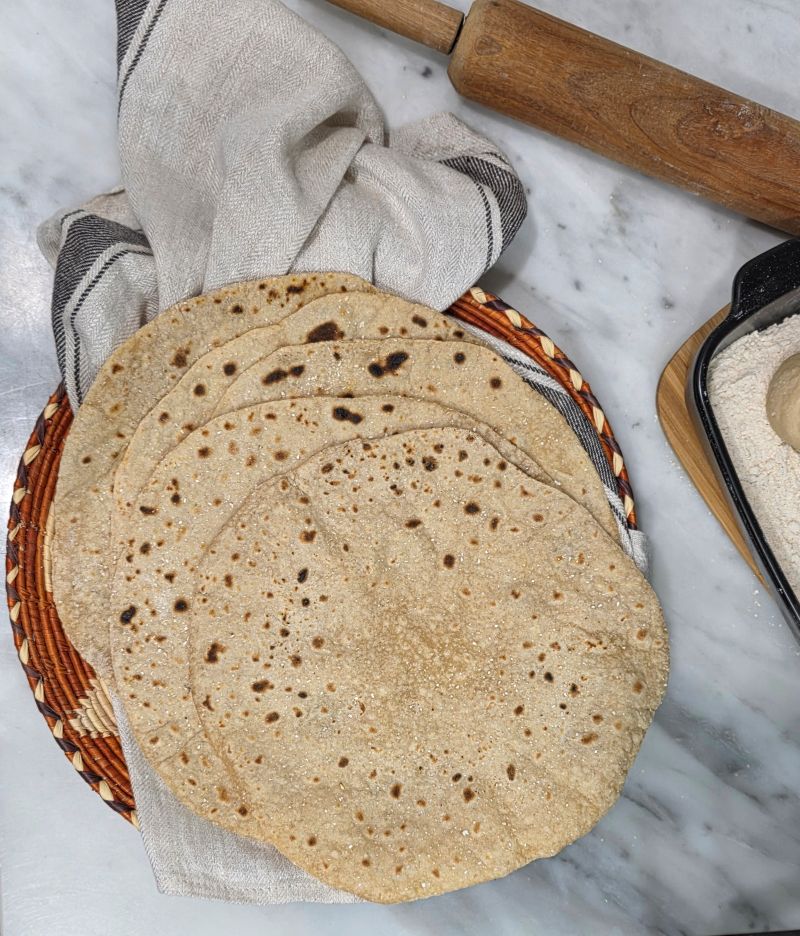
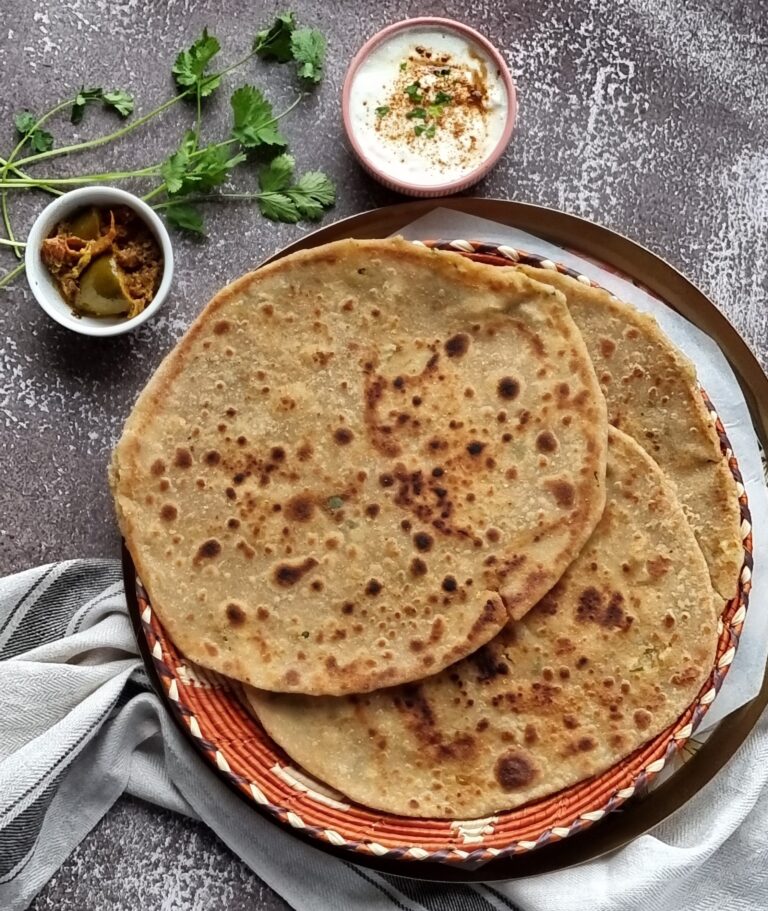
There’s something incredibly comforting about a freshly made, warm roti — soft, puffed, and perfect for scooping up your favorite curries. Roti, also known as chapati, is a traditional Pakistani flatbread made with just two basic ingredients: flour and water.
It’s simple, wholesome, and a daily staple in many South Asian homes. If you’ve ever felt intimidated by making roti from scratch, this step-by-step guide will walk you through the process with easy instructions, tips, and troubleshooting to help you make soft and round rotis every time — even if you’re a complete beginner.
What is Roti?
Roti is a type of unleavened flatbread that’s a staple in Pakistani and Indian cuisine. Made simply with whole wheat flour (atta) and water, it’s cooked on a hot griddle or tawa until soft and slightly charred. Roti is often enjoyed with a variety of dishes — from hearty meat curries and dals to vegetable curries and pickles.
Known by different names across regions — like chapati in some areas or Phulka (because its light and puffs up) — roti is cherished for its simplicity, versatility, and comforting taste. Unlike naan, roti doesn’t require yeast or baking, making it quicker and easier to prepare at home. It’s usually served fresh and warm, often brushed with a little ghee or butter right before serving.
Whether you’re new to South Asian cooking or looking to perfect your technique, mastering roti is a great skill that will elevate any homemade meal.
A little Bit About Atta (Whole meal Flour)
Atta is a type of whole wheat flour that’s commonly used in South Asian cooking, especially for making roti, paratha, and puri. Unlike regular whole wheat flour found in Western grocery stores, atta is stone-ground from hard wheat, which gives it a finer texture and the right balance of strength and elasticity — perfect for soft, palpable rotis.
Atta has a light brown color and a slightly nutty aroma. It absorbs water easily, which helps create a smooth, soft dough that can be rolled thin without tearing. If you’re making roti for the first time, using authentic chakki atta (available at most Indian or Pakistani grocery stores) makes a noticeable difference in both texture and taste.
In Australia some Coles stores sell Atta brand name Aashirvaad and Pillsbury Chakki Atta. Both of them are good. Sometimes you might find some other brands in baking section.
If you can’t find traditional atta, you can use whole wheat flour — its slightly grainy and coarse. You can still make roti with it but the texture won’t be same.
How to Make Perfect Dough for Roti
Making soft and palpable dough is the first and most important step in getting perfect roti. A well-kneaded dough ensures your rotis are soft, puff up nicely, and stay tender even after cooling. Here’s how to get it right every time:
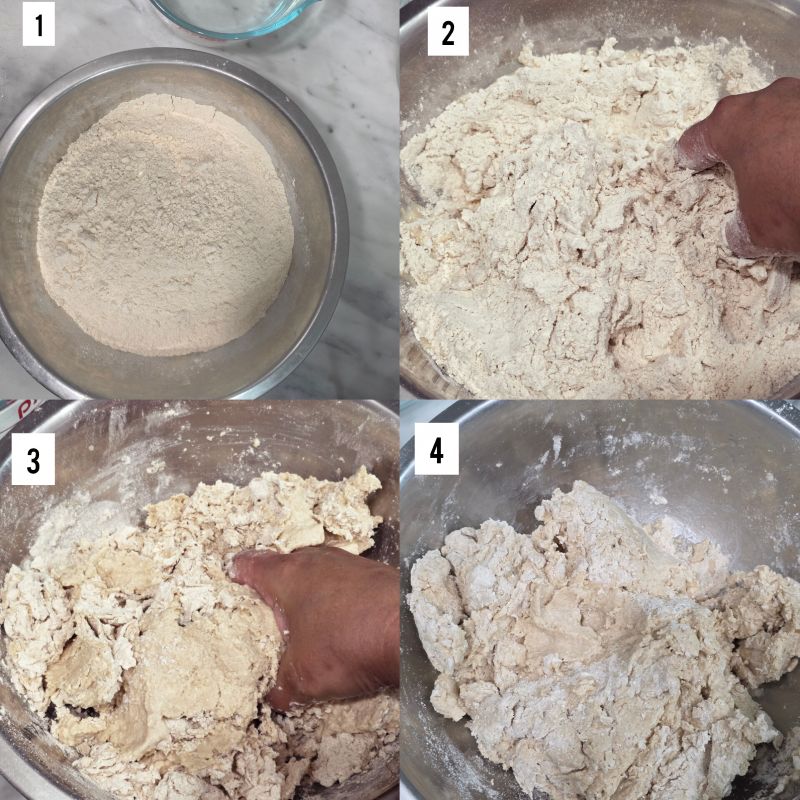
Add Flour to a Bowl: Place atta in a large mixing bowl. Usually, a wide bowl is used for making atta. You can optionally add a pinch of salt, I usually don’t add it.
Add Water Gradually: Add water slowly. Start by adding ¼ cup of water to the flour. Using your fingers, mix in a circular motion, allowing the flour to gradually absorb the water. Once absorbed, add a bit more water — around 3 to 4 tablespoons at a time — and continue mixing. Keep bringing the flour together as it starts to clump and form a rough dough. As the dough begins to take shape, wet your hands slightly and begin kneading it using your knuckles and the base of your palm.
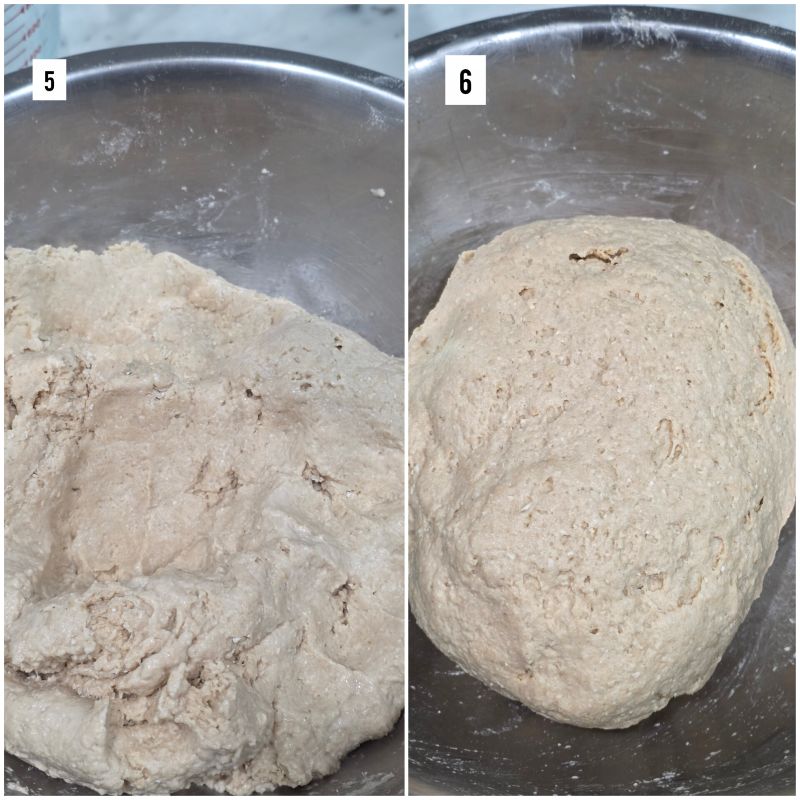
Knead Until Smooth: Keep Kneading the dough with wet hands for 8–10 minutes until it’s soft, smooth, and palpable. Press with your finger — it should bounce back slightly.
Let It Rest: Cover the dough with a damp cloth or plastic wrap and let it rest for at least 20–30 minutes in the refrigerator. This allows the gluten to develop, making the dough easier to roll and the rotis softer.
Can you Make the dough in Stand Mixer?
Yes, dough can easily be made using a standmixer. Add flour in the bowl and fit with a dough hook. Turn the mixer on low and gradually pour in about ¾ cup of water, allowing the flour to absorb it evenly. Keep adding little water at a time. Let the mixer knead the dough for 6 to 8 minutes until it forms a soft, smooth ball.
How to Make Roti – Step By Step
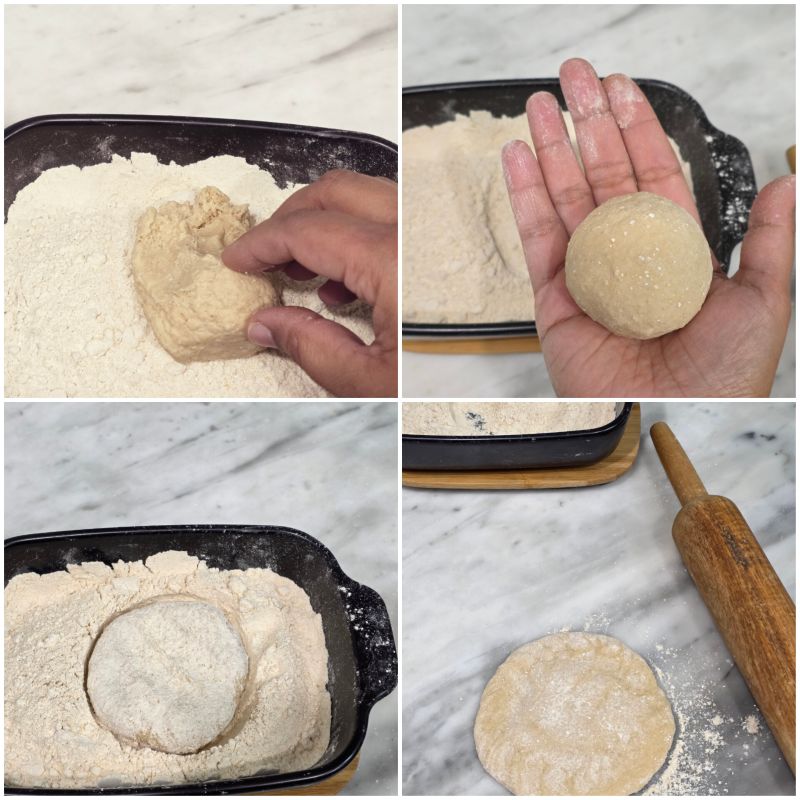
- Take a little portion from the dough and dip in dry flour. Now using your palms roll it into a ball. Make sure there are no cracks.
- In a plate or bowl add some dry flour and flatten the ball slightly.
- Put it on a clean surface and start rolling the roti.
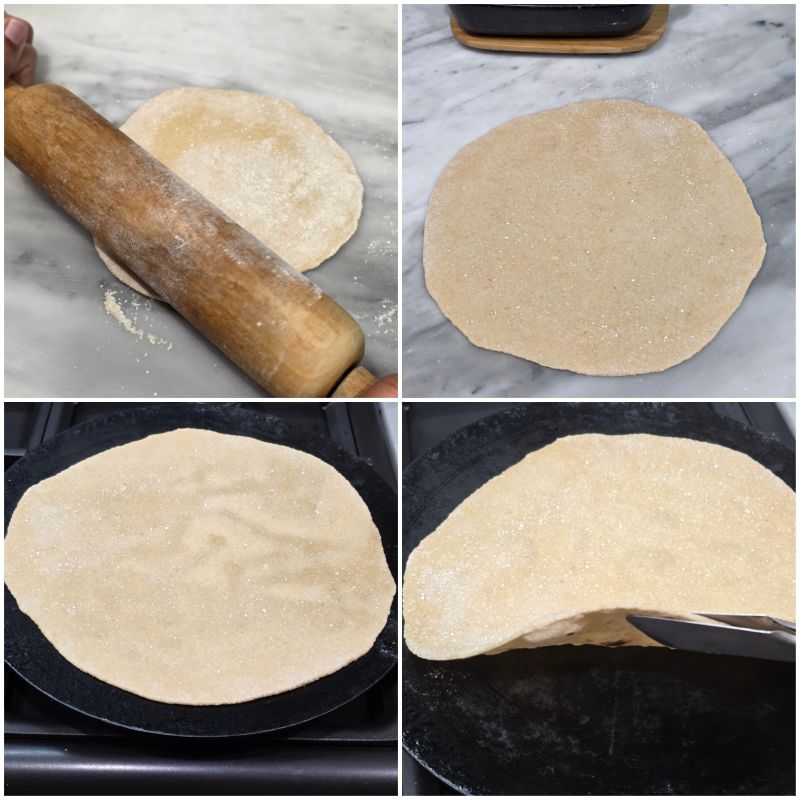
- Using gentle pressure move the rolling pin across the roti. Sprinkle some dry flour over and flip the roti. Keep rolling it until its thin and around size of a dinner plate. ( the size of the roti depends on how much dough you roll)
- Heat the tawa(Cast Iron Skillet) on high heat and then turn the flame to medium.
- Gently lift the rolled roti and place it on tawa.
- Allow it to cook for 30 secs and flip it. Let the other side cook and become slightly more cooked than first side.
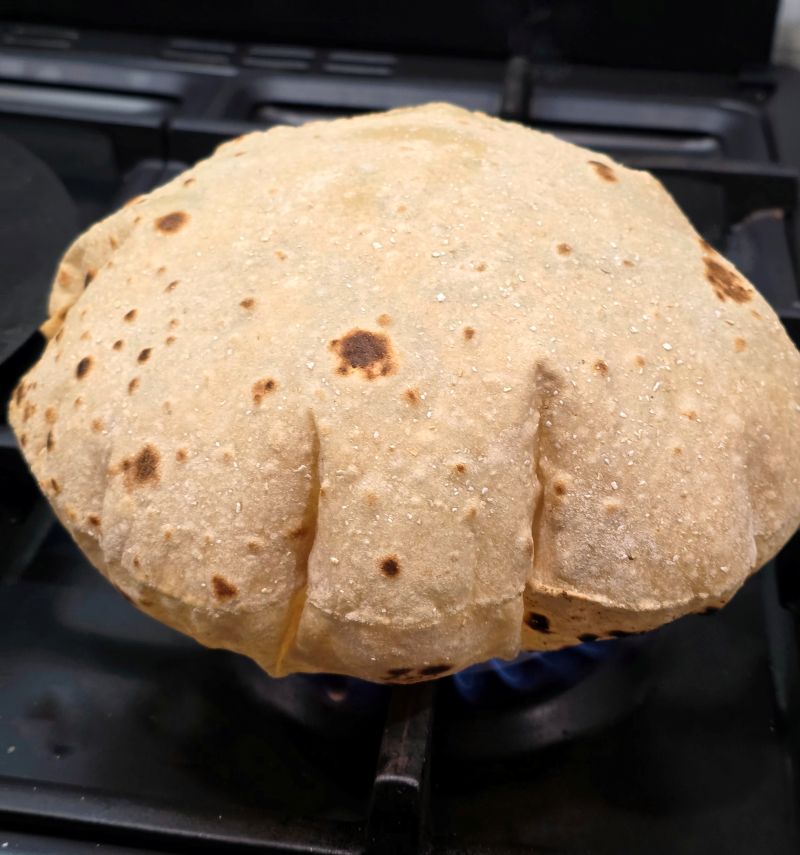
- Now remove the roti from the tawa and using tongs place the roti directly over the flame with first side directly over the flame.
- The roti will puff up ( or if it doesn’t don’t worry). If you have induction stovetop or don’t want to cook it over flame, you can cook the roti completely in the skillet/tawa. Once its cooked on one side flip and continue to cook on other side. Keep pressing it with tongs or you can use a tea towel so that its cooked evenly.
- Remove from heat and immediately put in a tea towel and cover to keep them warm and soft.
Tips for Perfect Rotis
Making roti is one of those deceptively simple kitchen skills — it looks easy, but takes a bit of practice to truly master. The good news? With a little patience, you’ll be making soft, round, puffed rotis like a pro in no time. And don’t worry if your first few aren’t perfectly round or don’t puff up — as long as they’re cooked well and taste good, you’ve already done a great job!
- Dough Consistency – The dough is everything. It shouldn’t be too soft or too stiff — aim for a soft, smooth, and pliable texture. After kneading, always let the dough rest for 20–30 minutes. This helps the gluten relax and makes the rotis softer.
- Make a perfect Dough ball – Roll a dough ball in your palm until smooth. Make sure there are no cracks
- Roll it gently – Use gentle, even pressure while rolling. Don’t press too hard or roll in just one spot. Keep rotating the dough as you roll to maintain a round shape and uniform thickness. If the dough sticks to the surface or rolling pin, dust it lightly with dry atta.
- Preheat the tawa – Just like you preheat an oven, your tawa must be properly preheated. Start by heating it on high, then reduce the flame to medium before cooking. If the tawa becomes too hot while you’re rolling, remove it from the heat briefly to prevent burning or hard rotis.
How to Freeze the Roti?
Yes, roti can absolutely be frozen, making it a great option for meal prep or busy weekdays. Freezing rotis properly helps you enjoy fresh, homemade flatbread anytime with minimal effort.
Cook the rotis as usual, but slightly undercook them (just until light brown spots appear). Let them cool completely on a wire rack to prevent moisture buildup.Place a piece of parchment paper between each roti to prevent sticking.Stack them and store in a ziplock bag or airtight container, pressing out as much air as possible.Freeze for up to 2–3 weeks.
To reheat , Heat directly on a hot tawa or skillet (no need to thaw).Flip a few times until fully heated and soft.
You can also microwave them (wrapped in a damp paper towel) for 20–30 seconds, but stovetop gives better texture.
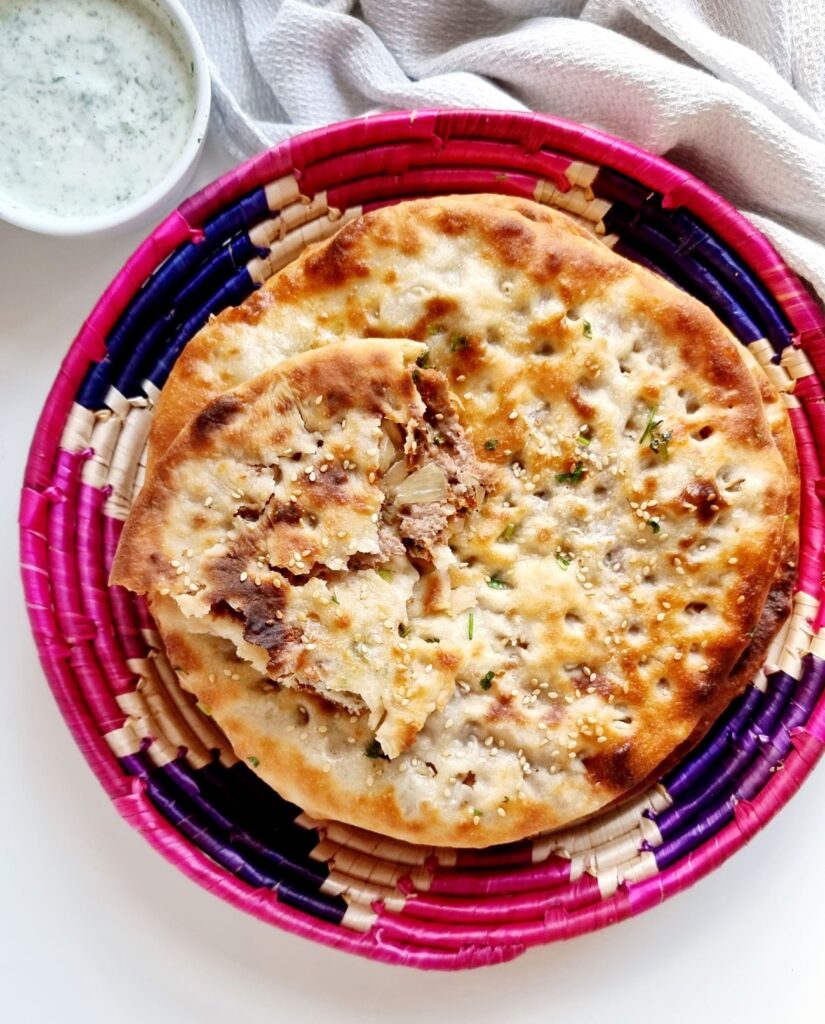
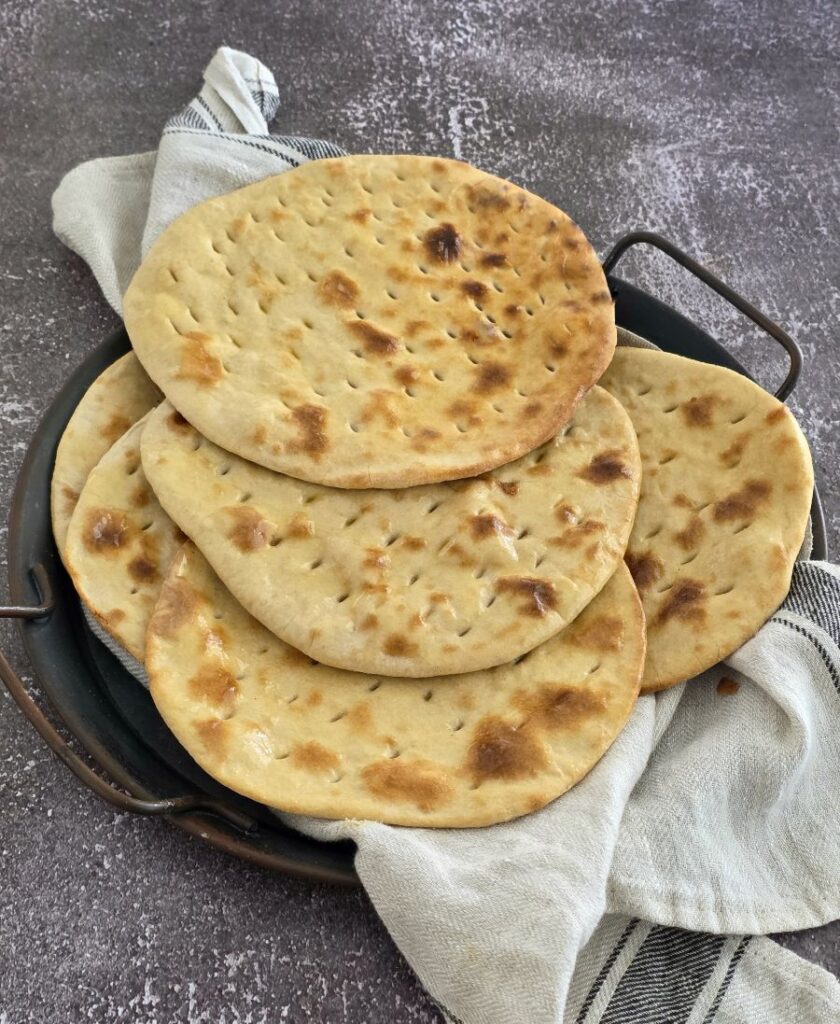
Other Flatbreads to Try
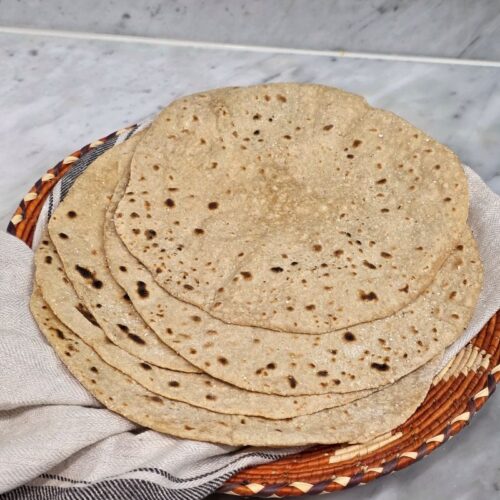
Easy Roti (Flatbread)- Step by Step Guide
Ingredients
- 2 Cups Whole meal Flour (Atta) – Little bit extra for dusting
- Warm Water As required
- Salt (Optional)
- Ghee or Butter (optional)
Instructions
Preparing the Dough
- Take large mixing bowl preferably with a flat bottom. Add flour (atta) into it.
- Start adding water, just little bit at a time. Using your fingers, mix in a circular motion, allowing the flour to gradually absorb the water. Once absorbed, add a bit more water — around 3 to 4 tablespoons at a time — and continue mixing. Keep bringing the flour together as it starts to clump and form a rough dough. You will need around 3/4 cup or slightly less water.
- Once the dough has formed stop adding more water, instead dip your hand in water and knead it using your knuckles. Keep kneading it for 5-7 minutes. You will see the dough will become smooth. The dough should be soft and palpable. If its hard splash some water and knead. If its sticky add some more atta and knead it.
- Roll it into a ball and cover it. Refrigerate it and allow it to rest for 20-30 mins.
Shaping the Roti
- Take some dry atta in a flat plate or a bowl for dusting.
- Take the dough out of the fridge, give it a quick knead again. Divide the dough into small parts. Dip one side of the dough into dry flour and then using your palms roll it into a ball . Make sure it forms a smooth ball with no crack.
- Put the dough ball in the dry atta and press it slightly to flatten it.
- Put it on a flat clean surface and start rolling using a rolling pin. Move it across lengthwise using gentle pressure. Dust some flour if its sticking to the surface or the rolling pin. Flip the roti one or two times. Keep rolling until its evenly thin on all sides.
Cooking the Roti
- heat the Tawa ( cast iron pan) on high heat. Once its hot enough turn the heat to medium high.
- Dust off the excess flour from the roti, gently lift and place it on tawa.
- Let it cook for 30 seconds, you will see tiny bubbles on the top side. Flip the roti using the tongs. Cook on the second side for another 30 seconds. This side should be slightly more cooked than first side.
- Using the tongs pick the roti and out it on the direct heat with first side directly over the flame. The roti will puff up if its evenly rolled. Even if it doesn't puff up, its cooked when its starts getting brown spots. Don't leave it on flame for too long it will start to burn.
- Apply ghee or butter if you prefer. Cover the roti with tea towel while you prepare the other rotis.
Instructions for Induction Stove
- For induction stove follow the same instructions. Put the roti on the tawa or flat pan. Let it cook for 30 seconds and then flip it over. The second side should cook more than first side. Gently lift it, you will see brown spots.
- Flip it back to first side and Using a paper cloth or tea towel gently apply pressure to all sides. It may or may not puff up but once you see that its has nice brown color , its ready.
Notes
- The amount of water required depends on type of atta. You may need more or less than mentioned.
- The dough can be prepared in the stand mixer as well. Follow the same instructions and remember to add water gradually.
- Unused dough can be stored in fridge for 2-3 days. make sure its covered properly to prevent from drying out.
- For Best Results use a Tawa, Cast iron skillet or pan. If you don’t have that then a non stick pan work too.
")
")

")

")